


The CDC is yet to confirm that a DIY face mask will protect you against airborne diseases. Despite this fact, we all know that these masks come in handy for several purposes when used properly.
For the last month, or thereabout, there has been a shortage of regular masks all around the world. This means that we all have to find an alternative, not just because of COVID-19, but many other airborne particulates.
Just in case you are faced with this dilemma, we’ve got you. In this post, we will show you how to make a face mask by yourself. (Learn More: https://en.wikipedia.org/wiki/Face_mask)
Why should you make a face mask for yourself?
Our environment is deteriorating by the day due to several air pollutants. As a result of this, we are exposed to so many particulates that can lead to disease, especially respiratory conditions. Some of these conditions include influenza, COVID-19, and several allergies.
It is possible that where you reside, you may not have access to face surgical masks. How then do you protect yourself? This is where a DIY face mask comes in handy.
So to answer the question above, a face mask provides you protection from disease in two ways:
- It protects you from inhaling droplets in the air that carry disease. Like we have established already, the air is filled with all kinds of pollutants. For this reason, you need to wear a face mask when stepping out, especially if you are prone to respiratory diseases.
- A mask prevents you from touching your nose and mouth. Naturally, we tend to always touch different parts of our faces. Infections occur when the pathogens come in contact with openings in the body. The easiest pathway for these pathogens to enter the body is through the nose and mouth.
Studies show that people who do not wear face masks have an 80% more chance of getting infected than those who do. The challenge most times is that people don’t wear their masks rightly. You must wear and take off the mask properly accompanied by hand washing.
You should make masks for yourself because of the following reasons:
- When you fall sick, you must keep your loved ones safe. You might not be able to step out to restock your supply of face masks. Homemade face masks will keep you and your loved ones safe.
- Making your masks reduces the demand on the industrially manufactured masks that are in short supply.
- You can make masks that fit your face perfectly.
- Homemade face masks are washable. This means you can use the masks more than once if you wash them properly.
What you need to make your face masks
We will be showing you how to make a mask that has two layers of fabric separated by a pocket. This pocket can harbor an optional filter. The mask will be held to the ears by ear loops made of elastic. So what do you need?
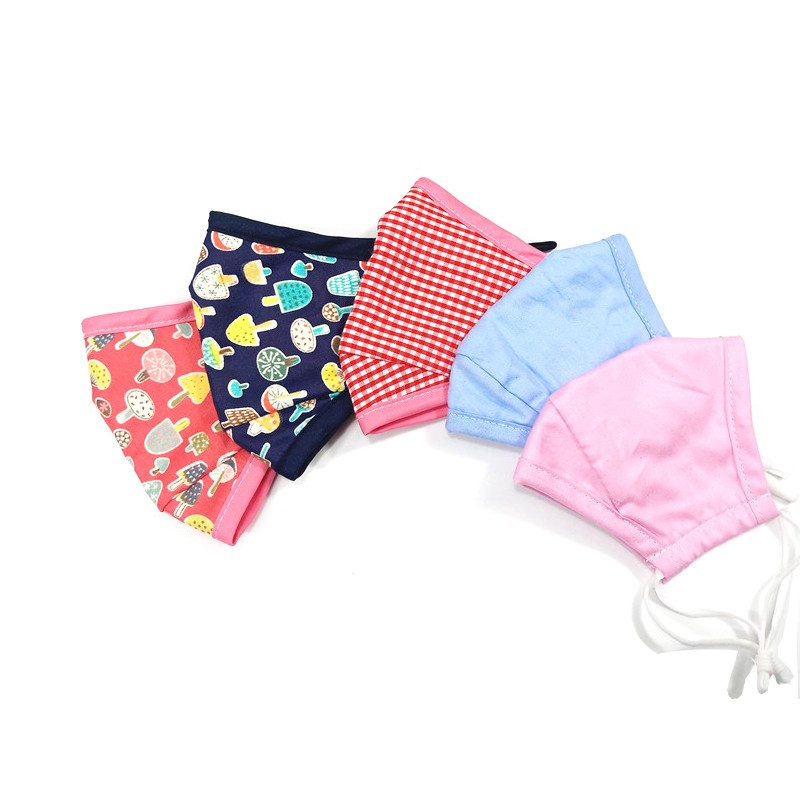
The first on the list is the fabric for your face mask. You have two options, either a poly/cotton fabric or woven fabric. The fabric must be tightly woven. To ascertain how tight the weaves are, you can hold the fabric up against light.
You can use this same fabric for the lining and the outer part of the mask. If you are not sure if you’ll know the different sides of the mask, make use of different fabric colors. While 100% cotton is great, a blend of cotton and polyester comes with extra qualities.
When making your DIY face mask, ensure that you avoid velvet, sequined, and stretchy material. You must wash the material first to be sure that it will not shrink later on. You also need elastic bands, thread, and a pair of scissors.
The process
Step 1: Fold the right sides of your fabrics together. You should pin the fabrics in a specific pattern, not haphazardly. Now make two cuts for side A and side B each. Then transfer 2 dots from one pattern onto the pieces of side A. Make sure you do this on the wrong side of the fabric. For demarcation, draw a light line on each piece using a pencil.
Step 2: Fold the straight sides of the lining fabric on the wrong side then sew the fold down. Do this using a straight stitch. After this, fold the bottom and top corners of the outer layers using the dotted pattern lines as a guide.
Pin the folds then fold the raw edge of the fabric and pin it as well. To keep the folds in place, you can iron them. Now stitch across the 3 folds you have on both sides. To make the sleeves for the holding elastic, fold at the angles on the wrong side. Stitch the ends of the outer layer using the pencil line drawn earlier as a guide.
Step 3: Create a layer inside the mask with the right side of the material facing inward. Sew the bottom and top edges then clip the curved seam. Now turn the right side outward before stitching the bottom and top seams.
This ensures that the layers remain in place during laundry. Pass the elastic band through the mask sleeves using a needle or safety pin.
Step 4: Create a channel for the nose wire by stitching a quarter-inch line from the stitch at the top. Slide the piece of nose wire into the slot and sew up the channel at the ends.
You can now tie the elastic into loops at the end and wear the mask over your face. Follow the protocol for wearing masks and adjust the elastic knots if necessary. Ensure that the nose wire fits the bridge of your nose properly.
Conclusion
If you are sticking with making a DIY face mask, then make at least 3 for yourself. You can also extend the kindness and make people in your home too. Remember to follow all protocol stated by the CDC on the use of face masks. Ensure that you wash the masks once you take them off and spray regularly with hydrogen peroxide on both sides. (For more information , visit https://www.trendebut.com .)

